


Why to use Firebase?
Firebase authentication aims to make building secure authentication system easy, while improving the signin and onboarding experience for end-users.
It provides an end-to-end identity solution, supporting email and password accounts, Phone Auth, Google, Twitter, Facebook, Github login and more......
also you can use firebase authentication anywhere like android, IOS, unity, and Web.
Firebase authentication has built by the same team that developed Google sign-in, smart lock and chrome password manager, Firebase security applies Google's internal expertise of managing one of the largest accounts database in the world.
It can take months to set-up your own system and it requires an engineering team to maintain that system in the future. Setup the entire authentication system of your app in under 10 lines of code, even handling complex cases like account merging.
I hope you have got enough brief about why we should use Firebase to manage authenticate our users and how firebase authentication is useful to us.
=====================================
Why Firebase Phone Auth?
With Firebase Phone Auth you can authenticate users by sending SMS messages to their phones. The user signs in using a one time code contained in the message.
This Article describes hoe we can implement simple authentication with Firebase with a Phone Number using ReactJS.
now we are ready to start implementing authentication with Phone Number with ReactJS.
Before you Begin
If you haven't already created project on Firebase than go to Firebase console to create one.
after creating a project on firebase, copy the initialization snippet from the Firebase console to your project as described in Add Firebase to your JavaScript project.
// firebase.js

import firebase from "firebase";

const config = {
  apiKey: process.env.API_KEY,
  authDomain: process.env.AUTH_DOMAIN,
  projectId: process.env.PROJECT_ID,
  storageBucket: process.env.STORAGE_BUCKET,
  messagingSenderId: process.env.SENDER_ID,
  appId: process.env.APP_ID,
};

try {
  firebase.initializeApp(config);
} catch (err) {
  // we skip the "already exists" message which is
  // not an actual error when we're hot-reloading
  if (!/already exists/.test(err.message)) {
    console.error("Firebase initialization error", err.stack);
  }
}

export default firebase;
Enable Phone Number sign-in for your Firebase project
To sign in users by SMS, you must first enable the Phone Number sign-in method for your Firebase project:
- In the Firebase console, open the Authentication section.
- On the Sign-in Method page, enable the Phone Number sign-in method.
- On the same page, if the domain that will host your app isn't listed in the OAuth redirect domains section, add your domain.
Firebase's phone number sign-in request quota is high enough that most apps won't be affected. However, if you need to sign in a very high volume of users with phone authentication, you might need to upgrade your pricing plan.
Here we have set-up firebase for our project.
  // home.js

import React, { useEffect, useState } from "react";
import firebase from "../firebase";

export default function Home() {
  const [userData, setUserData] = useState({
    number: "",
    otp: "",
  });

  const [otpStatus, setOtpStatus] = useState(false);

return;
}
This is our states where we are storing mobile number and OTP.
initially otpStatus state will be false so that input field for OTP will be disabled so that we can request Firebase to send OTP on our mobile number.
// home.js
return (
    <>
      <div className="container" id="container">
        <div className="form-container sign-in-container">
          <form
            onSubmit={(e) => {
              e.preventDefault();

              if (!otpStatus) {
                return signInWithNumber(userData.number);
              }
              if (otpStatus) {
                return submitPhoneNumberAuthCode(userData.otp);
              }
            }}
          >
            <h1>Sign in</h1>
            <input
              type="text"
              onChange={(e) => {
                setUserData({ ...userData, number: e.target.value });
              }}
              inputMode="tel"
              placeholder="Mobile Number"
            />
            <input
              disabled={!otpStatus}
              inputMode="tel"
              onChange={(e) => {
                setUserData({ ...userData, otp: e.target.value });
              }}
              type="number"
              placeholder="OTP"
            />
            <button type="submit">Sign In</button>
            <div id="captcha-container"></div>
          </form>
        </div>
      </div>
    </>
  );
@import url("https://fonts.googleapis.com/css?family=Montserrat:400,800");

* {
  box-sizing: border-box;
}

body {
  background: #f6f5f7;
  display: flex;
  justify-content: center;
  align-items: center;
  flex-direction: column;
  font-family: "Montserrat", sans-serif;
  height: 100vh;
  margin: -20px 0 50px;
}

h1 {
  font-weight: bold;
  margin: 10px 0;
}

h2 {
  text-align: center;
}

p {
  font-size: 14px;
  font-weight: 100;
  line-height: 20px;
  letter-spacing: 0.5px;
  margin: 20px 0 30px;
}

span {
  font-size: 12px;
}

a {
  color: #333;
  font-size: 14px;
  text-decoration: none;
  margin: 15px 0;
}

button.ghost {
  background-color: transparent;
  border-color: #ffffff;
}

button:active {
  transform: scale(0.95);
}

button:focus {
  outline: none;
}

button {
  border-radius: 20px;
  border: 1px solid #ff4b2b;
  background-color: #ff4b2b;
  color: #ffffff;
  font-size: 12px;
  font-weight: bold;
  padding: 12px 45px;
  letter-spacing: 1px;
  text-transform: uppercase;
  transition: transform 80ms ease-in;
}

form {
  background-color: #ffffff;
  display: flex;
  align-items: center;
  justify-content: center;
  flex-direction: column;
  padding: 0 50px;
  height: 100%;
}

input {
  background-color: #eee;
  border: none;
  padding: 12px 15px;
  margin: 8px 0;
  width: 100%;
}

.container {
  background-color: #fff;
  border-radius: 10px;
  box-shadow: 0 14px 28px rgba(0, 0, 0, 0.25), 0 10px 10px rgba(0, 0, 0, 0.22);
  position: relative;
  overflow: hidden;
  width: 350px;
  max-width: 100%;
  min-height: 480px;
}

.form-container {
  position: absolute;
  top: 0;
  height: 100%;
  transition: all 0.6s ease-in-out;
}

.sign-in-container {
  left: 0;
  width: 100%;
  z-index: 2;
}

input:disabled {
  background: rgb(184, 184, 184);
}

input:disabled::placeholder {
  color: white;
}
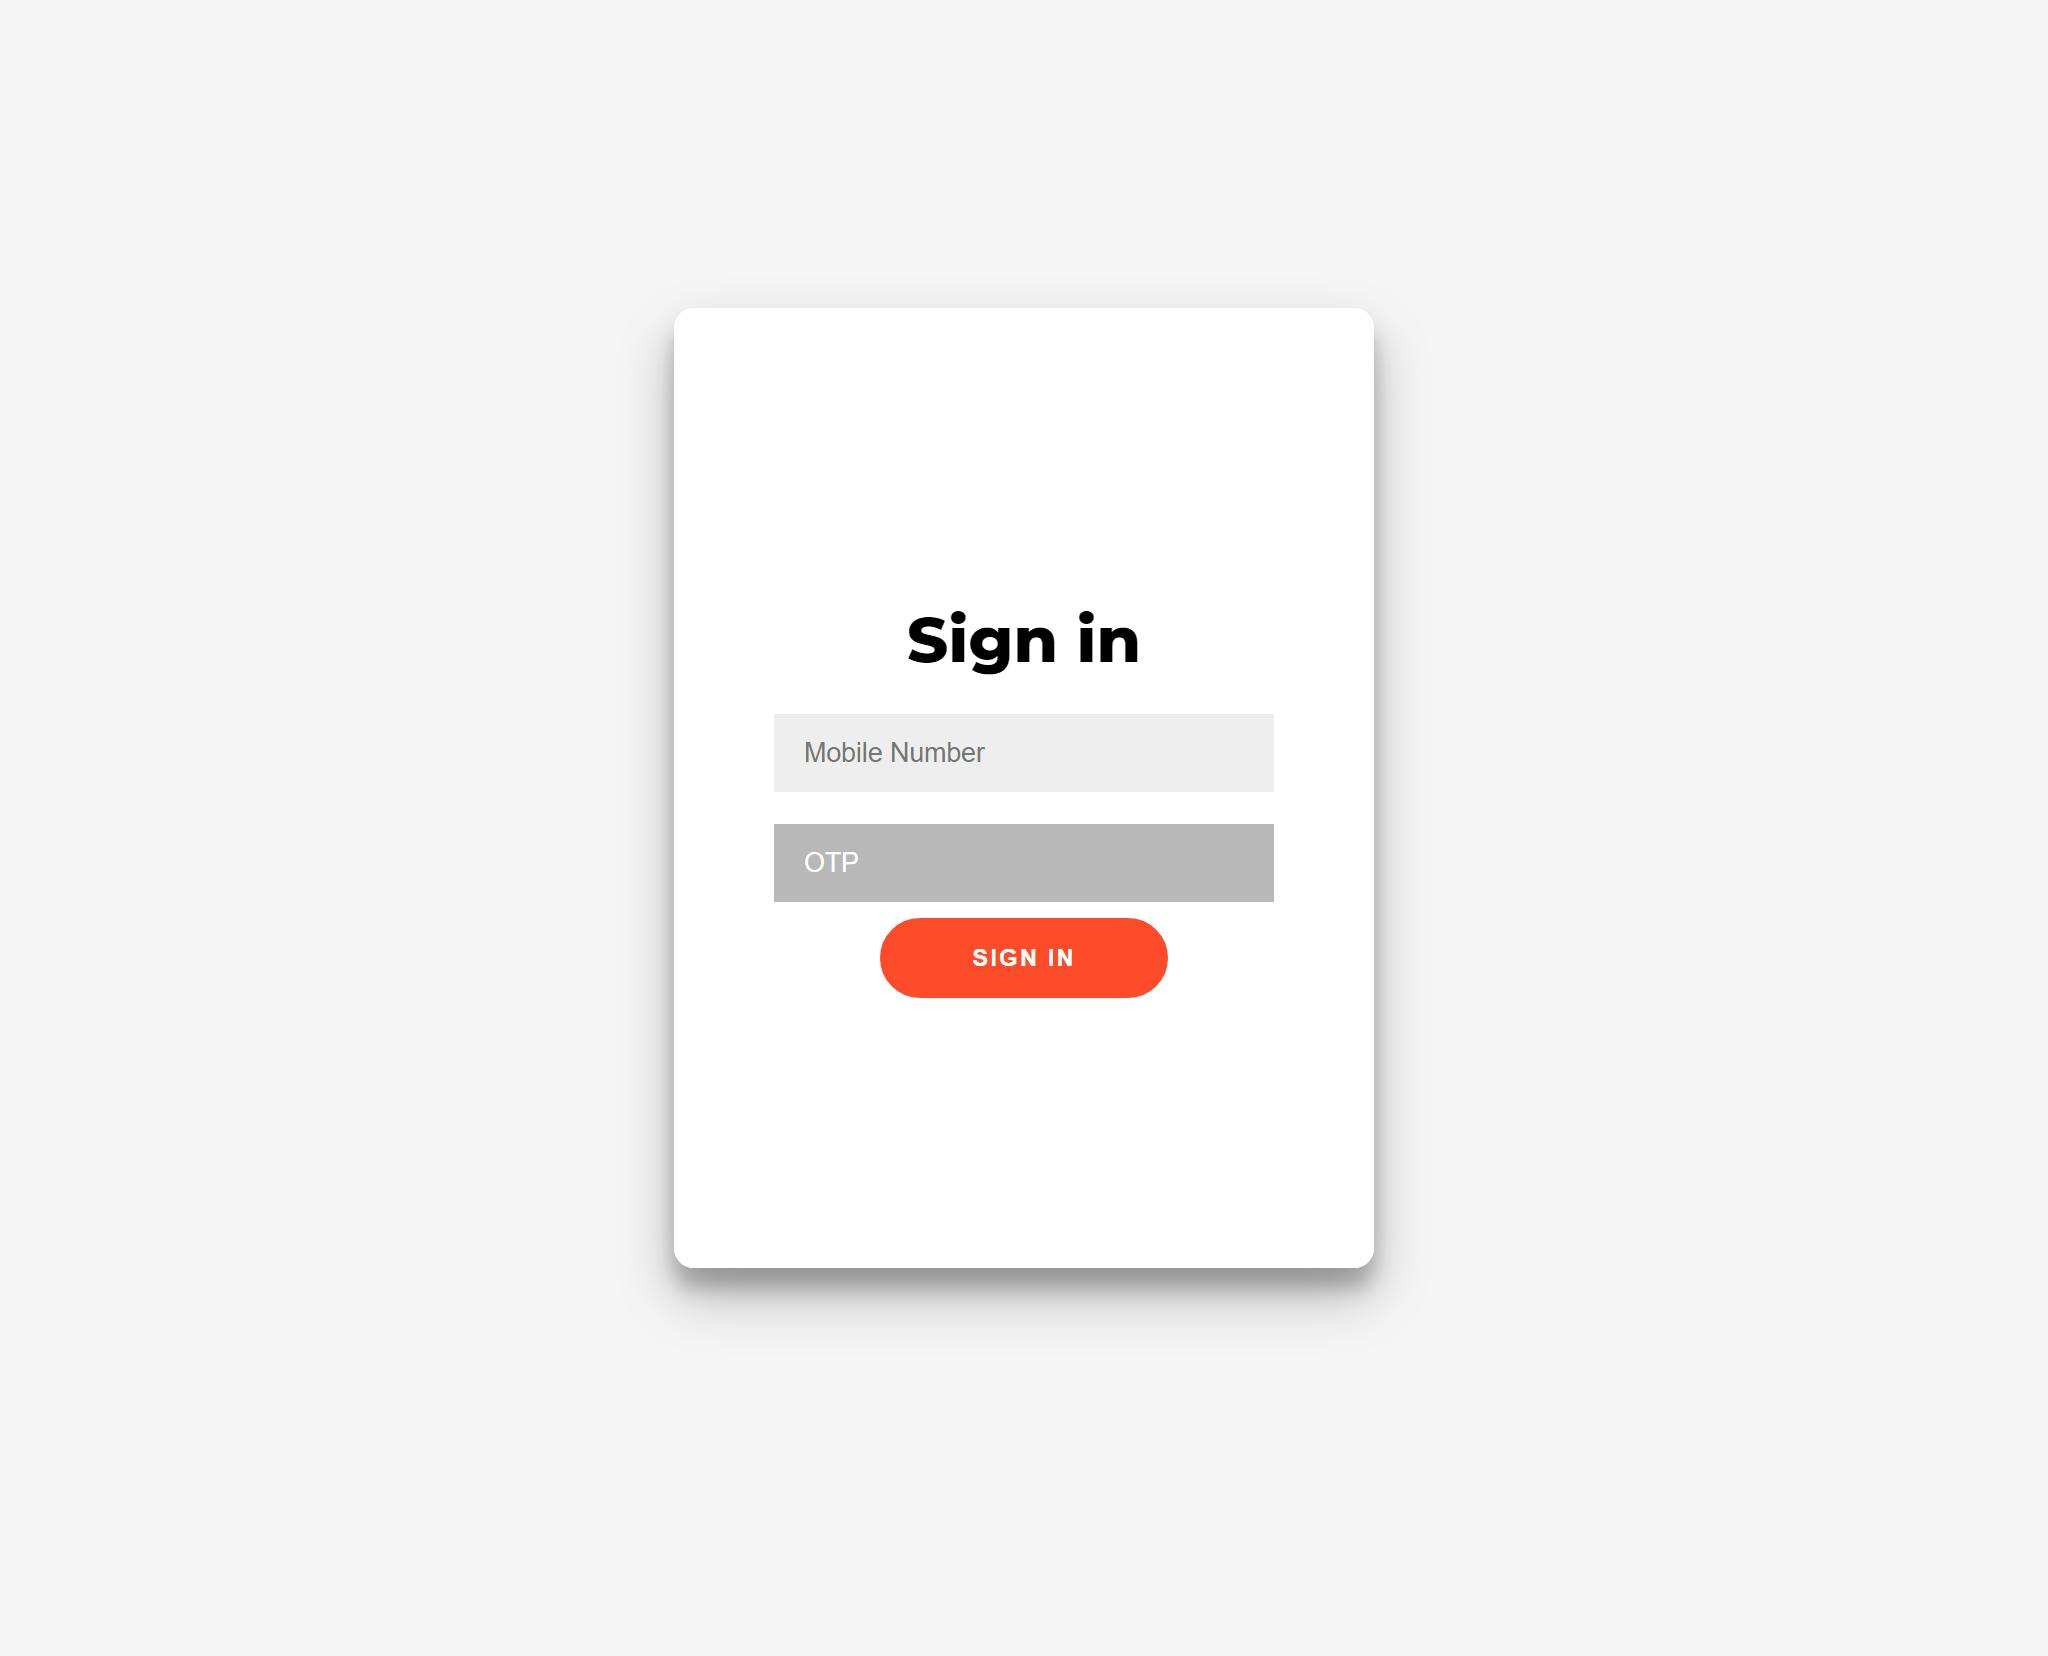
These are HTML and CSS code for sign-in form that we are going to use for now and it will look similar to this 🔽🔽
  // home.js
  const authCaptchaVerifier = () => {
    window.recaptchaVerifier = new firebase.auth.RecaptchaVerifier(
      "captcha-container",
      {
        size: "invisible",
        callback: function (response) {
          signInWithNumber(userData.number);
        },
        "expired-callback": function () {
          // Response expired. Ask user to solve reCAPTCHA again.
          // ...
          alert("try again!");
        },
      }
    );
  };

  useEffect(() => {
    if (!localStorage.getItem("admin-token")) {
      authCaptchaVerifier();
    }
  }, []);
We used useEffect hook to let the authCaptchaVerifier function to run when we have not logged-in to the app otherwise this authCaptchaVerifier function will run forever.
To prevent that we used local-storage to store our token that will be reurn to us by firebase when we logged-in so this authCaptchaVerifier will not run again and again even we are in logged-in state.
This authCaptchaVerifier make sure that before you can sign in users with their phone numbers, you must set up Firebase's reCAPTCHA verifier. Firebase uses reCAPTCHA to prevent abuse, such as by ensuring that the phone number verification request comes from one of your app's allowed domains.
You don't need to manually set up a reCAPTCHA client; when you use the Firebase SDK's RecaptchaVerifier object, Firebase automatically creates and handles any necessary client keys and secrets.
The RecaptchaVerifier object supports invisible reCAPTCHA, which can often verify the user without requiring any user action, as well as the reCAPTCHA widget, which always requires user interaction to complete successfully.
The underlying rendered reCAPTCHA can be localized to the user's preference by updating the language code on the Auth instance before rendering the reCAPTCHA. The aforementioned localization will also apply to the SMS message sent to the user, containing the verification code.
// firebase.js
firebase.auth().languageCode = 'it';
For more information about reCAPTCHA please refer to the Firebase documentation.
  // home.js
  const signInWithNumber = async (number) => {
    try {
      const confirmationResult = await firebase
        .auth()
        .signInWithPhoneNumber(number, window.recaptchaVerifier);

      setOtpStatus(true);

      window.confirmationResult = confirmationResult;
    } catch (error) {
      return console.log(error.message);
    }
  };
To initiate phone number sign-in, present the user an interface that prompts them to provide their phone number, and then call signInWithPhoneNumber to request that Firebase send an authentication code to the user's phone by SMS.
after sending the OTP we will change the state of otpStatus to true so that we can enter the OTP we have received.
and so for you have successfully got your brand new OTP ✌.
now you have to enter the received OTP to sign-in successfully. For this we need last functions that will verify our OTP.
  // home.js
  const submitPhoneNumberAuthCode = async (otp) => {
    const result = await window.confirmationResult.confirm(otp);

    const user = result;
    const token = user.user._lat;

    const userId = firebase.auth().currentUser.uid;

    localStorage.setItem("admin-token", token);

    return alert("You are loggedIn!");
  };
The submitPhoneNumberAuthCode let sign in the user by passing the code to the confirm method of the ConfirmationResult object that was passed to signInWithPhoneNumber's fulfillment handler (that is, its then block).
Yay! You are now successfully signed in! ✔✔
Simple, huh?
Hope you have loved this article and make sure hit the like button to support me even more and let me know in the comments if you have some questions for me!
Happy to help you! 🙏
Hey, there! I’m Parag and I am 18.7 😁 years old Full-stack Web developer.
providing reliable web services from a simple website to huge database-driven custom websites or web applications
It has been 3 years since I started web development and very excited for upcoming years.
connect with me on Instagram for brief chat.
visit my website for any project. I would love to work with you at all.